
Installing VMware vCenter Server Appliance in VMware Worksation
Transcript
hi this is Keith townser from virtualized geek.com We're continuing our lab on installing a VMware vpar environment within VMware Workstation to this point we've installed our Windows Server when our esxi host and now we're moving on to installing the vcsa or V Center server Appliance within VMware Workstation as a reminder this is a lab inspired by Jonathan frers we're going to diverge from his lab a little bit instead of installing our vcsa inside of a esxi host we're going to go ahead and import it within
our VMware Workstation this gives us a little bit more flexibility one if you're not using Windows or two if you don't want to use the sharp client this gives us more flexibility and options so let's get started so importing of OVA into VW workstation is a little bit nonintuitive there's no menu option to actually import a OVA we have to navigate to where our OVA file is in our hard drive and double click on the OVA so we'll go ahead and Port that and choose the
proper directory and depending on the speed of your system this may take up to 10 minutes so after the install is complete we'll have a new server in our inventory and we'll go ahead and move it into our Labs folder it's now the Venter server Appliance and one thing we want to investigate changing is the memory settings on our Venter server by default the Venter server has 8 gig of RAM we most definitely want to bring that down to about 4 gig I think is the
sweet spot for most configurations in practice the Venter server won't use that much we'll go ahead and leave it at 8 gig for our install but we'll ratchet that back down to 4 gig after we're complete with the install second thing that we want to make sure we do is our networking uh we will use the bridge Network for again we want to take advantage of the ability to use multiple physical host if we want to so we're going to leave the network on our bridged
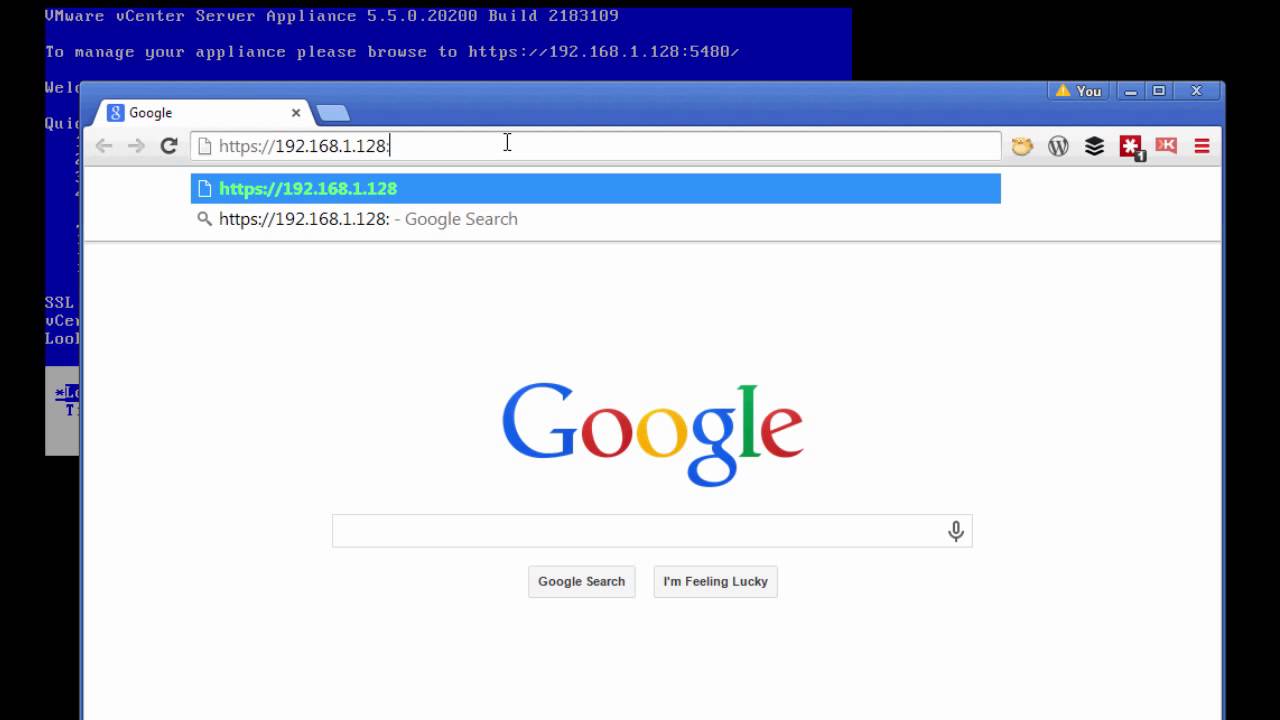
VMware Workstation Network so let's go ahead and power up our Venter server once our Venter server is completely powered up we want to navigate to the IP address add of the Venter server and we want to make sure we choose Port the default Port 5480 if we're using Chrome or any other browser it's going to tell us that we're na navigating to a non-secure site we know this we haven't issued certificates in our lab so we're going to go ahead and say that that's fine because
of course we know what we're doing from a security perspective in this lab we're going to log in with the default credentials which is root and the password is VMware we're going to accept our license agreement and we're going to select defaults from this point forward because we'll come back to configure our Venter server Appliance once the Venter Services have started we can navigate to the Venter serers default IP address and go ahead and valid validate that the installation has been successful you see that we're
getting the default splash page for the VMware vpar server at this point if you're running a Windows machine we can install the C client by downloading it directly from this link that's if you want to run the C client and you have a Windows workstation or we can go ahead and log in the vpar web client just to validate that the installation was successful again the default user name is rot and there you have it we've successfully installed the VMware vcsa server within VMware Workstation


